Saturday, 8 September 2012

Rabbits, kittens and kiln casting

It is the start of the September Festival fortnight in St. Ives and it has been a beautiful sunny day.  We have been to the Golf Club this evening for the Captain`s buffet, a yearly event and the food was wonderful, and with friends, who are great company.

Thought I would start including some photos of the family so here is the youngest:
above is Tinks who is a girl but when she arrived about three months ago was a boy called Wilson
and below is Marley when he first arrived over a year ago


back to glass, here is some I made earlier, which I made on the expensive week long residential course.  It was a marvellous course with so much packed in,  from the basics up to advanced stuff like the one below, which is a kiln casting, and I actually made the mould for this.  It is called the `lost wax method` and I was so pleased with it.

and below a wonderful solid block which consists of 5 layers 3mm Bullseye glass with metal, copper leaf, bubble powder and green glass, sandwiched between the layers.  We then used a special saw to cut the edges, and the hardest bit was handworking the edges, by circular motion with different, grades of carborundum powder.  Basically sanding it forever!  then we used another machine to polish the edges (cannot remember the name).


 unfortunately it has been knocked over a few times and the edges got broken! (cry).  It was such an amazing course at The Liquid Glass Centre near Bristol but alas it has gone into liquidation now.  Watch this space because I am told that it will be up and running again soon, with the original owners.  Below is some of the jewellery I did there too.

 The shiny bits on the pieces below are Dichroic glass which is very popular but extremely expensive.
most of the pendants below have a channel to put the chain through but one has a bail stuck on.  Not always reliable as sometimes the glue fails!  So I intend to teach only putting the channels in on my pendant course, there will be courses before Christmas and these make wonderful gifts.
I promised results of the Fragment pieces, shown below after they are slumped into a mould.  They are fired first to fuse the glass together then fired again on top of a mould, using a different programme to gently slump them into the shape of the mould.

 
I will be selling these, with a tea light in a little drawstring bag in the future.  Also there will be a course before Christmas, for students to make these and other small  items for gifts.

 for those of you who wanted to make comments but did not know how to, just click on the pencil, or `comment` word below and you should be able to enter it there, let me know if you have problems.  I would love to hear what you think.


Friday, 7 September 2012

Just like buses

Blogs are just like buses, nothing for ages, then two come along at once!

I promised you a picture of the table runner below

and close up detail, so the samples for the commission I showed you in the last blog make more sense.

I very quickly outgrew Frank`s class as it was just for beginners and frankly (!) he could not answer all my questions and I wanted to go onto more advanced techniques.  Also about forty per cent of my items were coming back with problems and since I have learnt more, some of them were due to how they were fired.  There were about twenty of us in a class and we all used whatever glass we wanted to:  Float, Bullseye, Spectrum but they are all different COE`s, which for the unitiated means Coefficiency of Expansion.  Simply put, as I said before, like cooking things that should be at different temperatures in the same oven at the same time.  Since we never fired them ourselves, as it was an evening class in a hall, Frank used to take them home, and however well they were packed, inclusions moved in transit as glue had not had time to dry properly to hold them together.  He then put them in his kiln and components moved around and fired them  and brought them back the following week and as you have seen, from previous photos several of my items were ruined.  Some glass is very expensive and I could not afford for this to happen anymore.
Unfortunately, at the time this was the only class in the area, so I had to save my pennies to go on a very expensive residential course.  It was a fabulous week and I will post pictures and details next blog.

I will show you a bit more of what I have been experimenting with lately.  
above more samples of the powders, frit etc. that can be included inside and on top of the float glass before firing.   Will take a finished picture tomorrow as I do not seem to have one.
Here is the beginning of the design for a fish skeleton
 The head, tail and spine cut out below and then I did some bones but did not take a photo
As you can see the finished piece was not that successful but I like the quirkiness of it, so will do another similar one, now I know what the problems were: devitrification and the wire was a bit thick for the thin bones so a couple broke off.

 It has been a beautiful sunny day today and I hope we get a really nice weekend, but the forecast is not as good as it has been for us in St. Ives
Several readers have told me they cannot leave remarks on the blog for some reason.  Can my experienced blogger friends who have managed to,  let us all know how it is done please?


Wednesday, 5 September 2012

Failures,Fragments and Fried Bread


 I haven`t managed to blog since June! but as I run a guest house in St. Ives I think I have an excuse!
Having said that this is the first time in fifteen years that I have had empty rooms in August.  It has been a terrible season for everyone I think and I think it is a combination of the weather, the Olympics but more importantly the recession.  The weather will also have a knock on effect next year I think.  Still we have lovely sunshine here in St. Ives for a few days at the moment, so must not complain and the September festival starts soon.  Deals on my website if you fancy a break and a superb full Cornish breakfast.


I may not have blogged about the glass but I have managed to get in the studio and do a bit, so to continue here are the results of the last picture I posted a few months back - disaster mostly! The kiln wash stuck to the back of everything and even though I soaked them in white vinegar, it would not  come off.  The temperature was obviously too high, but it is a learning curve!
 
I then decided to use some of my scrap decofloat, that you will recognise from the Jigsaw plates I did before, that is the beauty of working with glass, nothing goes to waste.  I used to hate wasting acrylic paint and used to paint on other canvases with it rather than wash it down the sink!
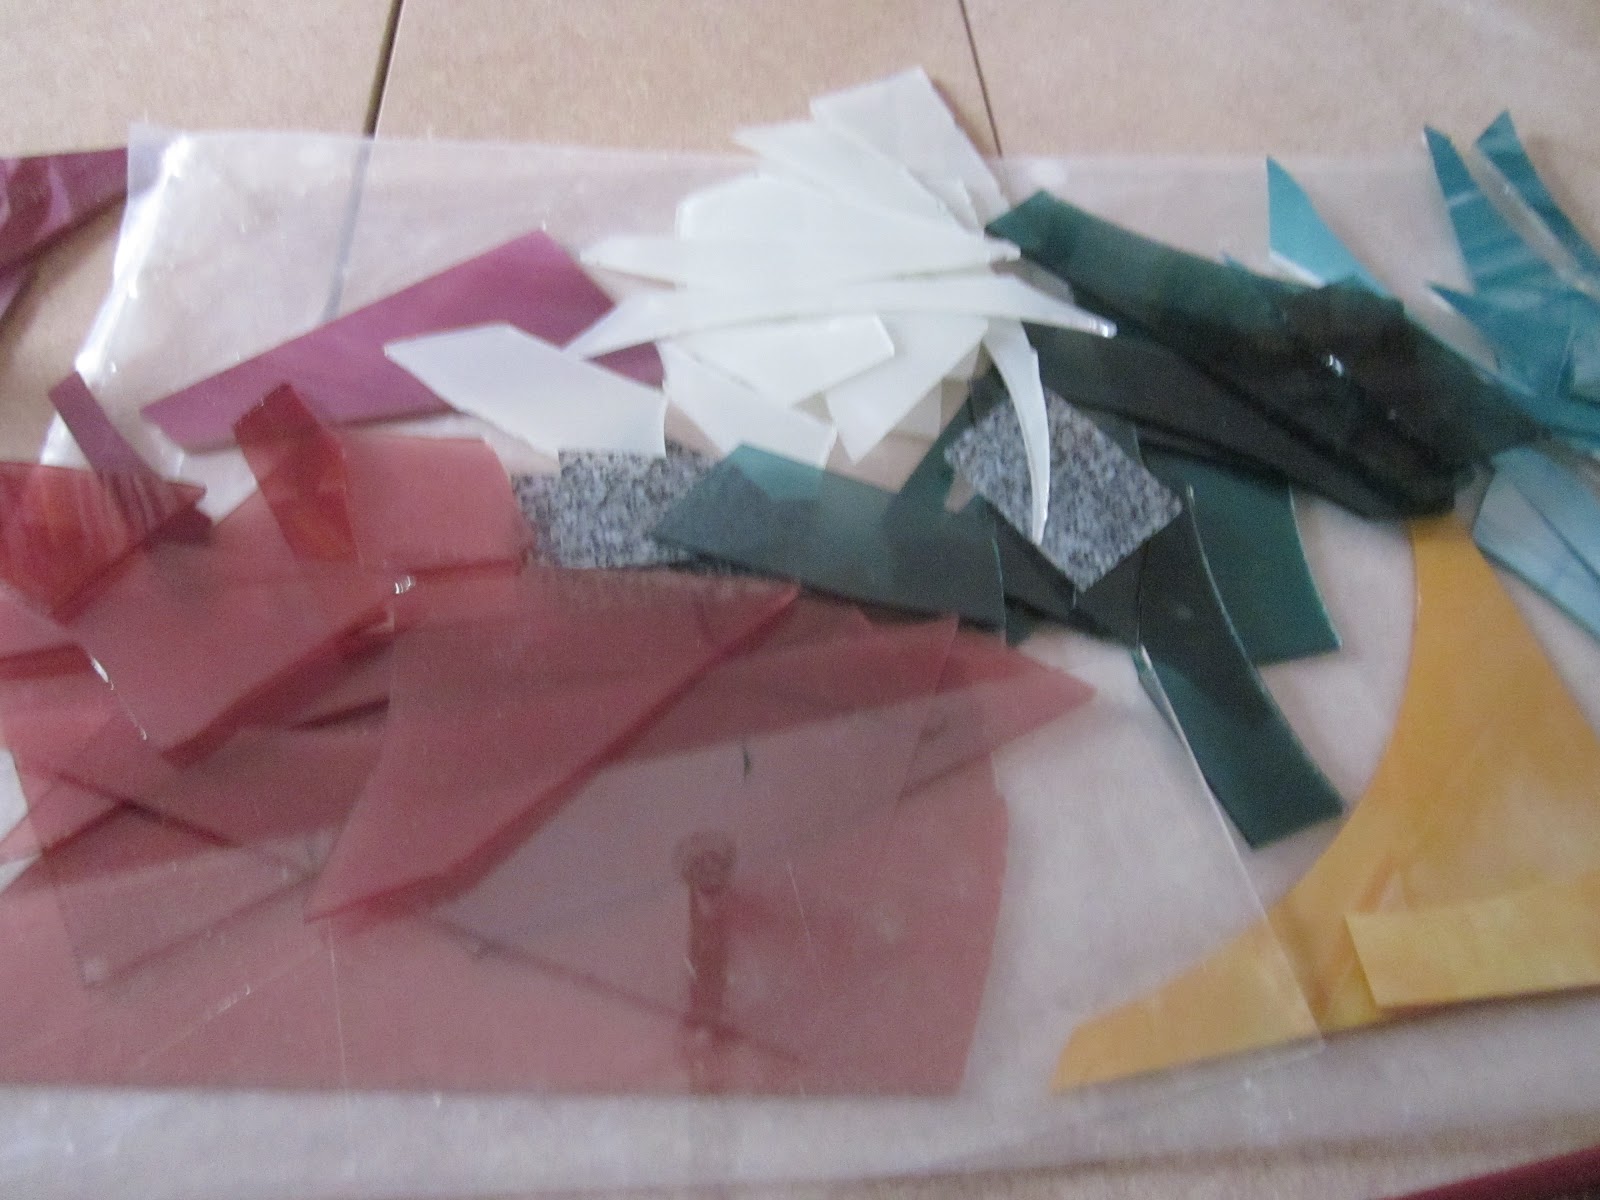
I really liked the samples and as they came out well have decided to use them in my range and they will be called `Fragments`.  I did not take photos of them when they came out of the kiln but will later post photos of some of them slumped into dishes.


One of the items I made on a course was a table runner, and it is very useful as you can put hot pans on it with no problems and it looks very decorative and sits on my table all the time.

will post a picture of it tomorrow.

My friend Liz has commissioned one of these but wanted a slightly different design and colour but in a similar theme.  So I produced a few samples for her to choose from.

and the results were very good.  She has chosen the one at bottom left below so I will work on this soon, she is moving house and does not want it until then.  I will need to use a friend`s kiln which is bigger as mine is too small.  Anyone that wants a table runner, just ask and I can produce it in a similar design but you choose the colours etc, they cost £100 each.

with the samples above the black bands are created using an aluminium tape, crumpled and stuck on then copper oxide is rubbed in.  I love the alchemy.  The copper oxide is quite a damp powder though and is difficult to sprinkle on as it clumps together.  So I experimented and put it in a spray bottle with water and the result is on the left of the samples below.  Just sprinkled on the right sample so you can see the difference but very pleasing effect and I just love bubbles!

These will definitely be appearing in my range and will probably be called `Bubbles` - I am nothing if not original!

Monday, 11 June 2012

samples

I forgot to show you the float samples in the last blog
                 and here are the detailed notes so I can identify the samples when they come out of the kiln

This one was devitrified
but this one was better
 Another unsuccessful firing and all the kiln wash stuck to the back of the glass, I am trying to remove it with white vinegar but it is stuck fast.  I think that they were fired at too high or for too long

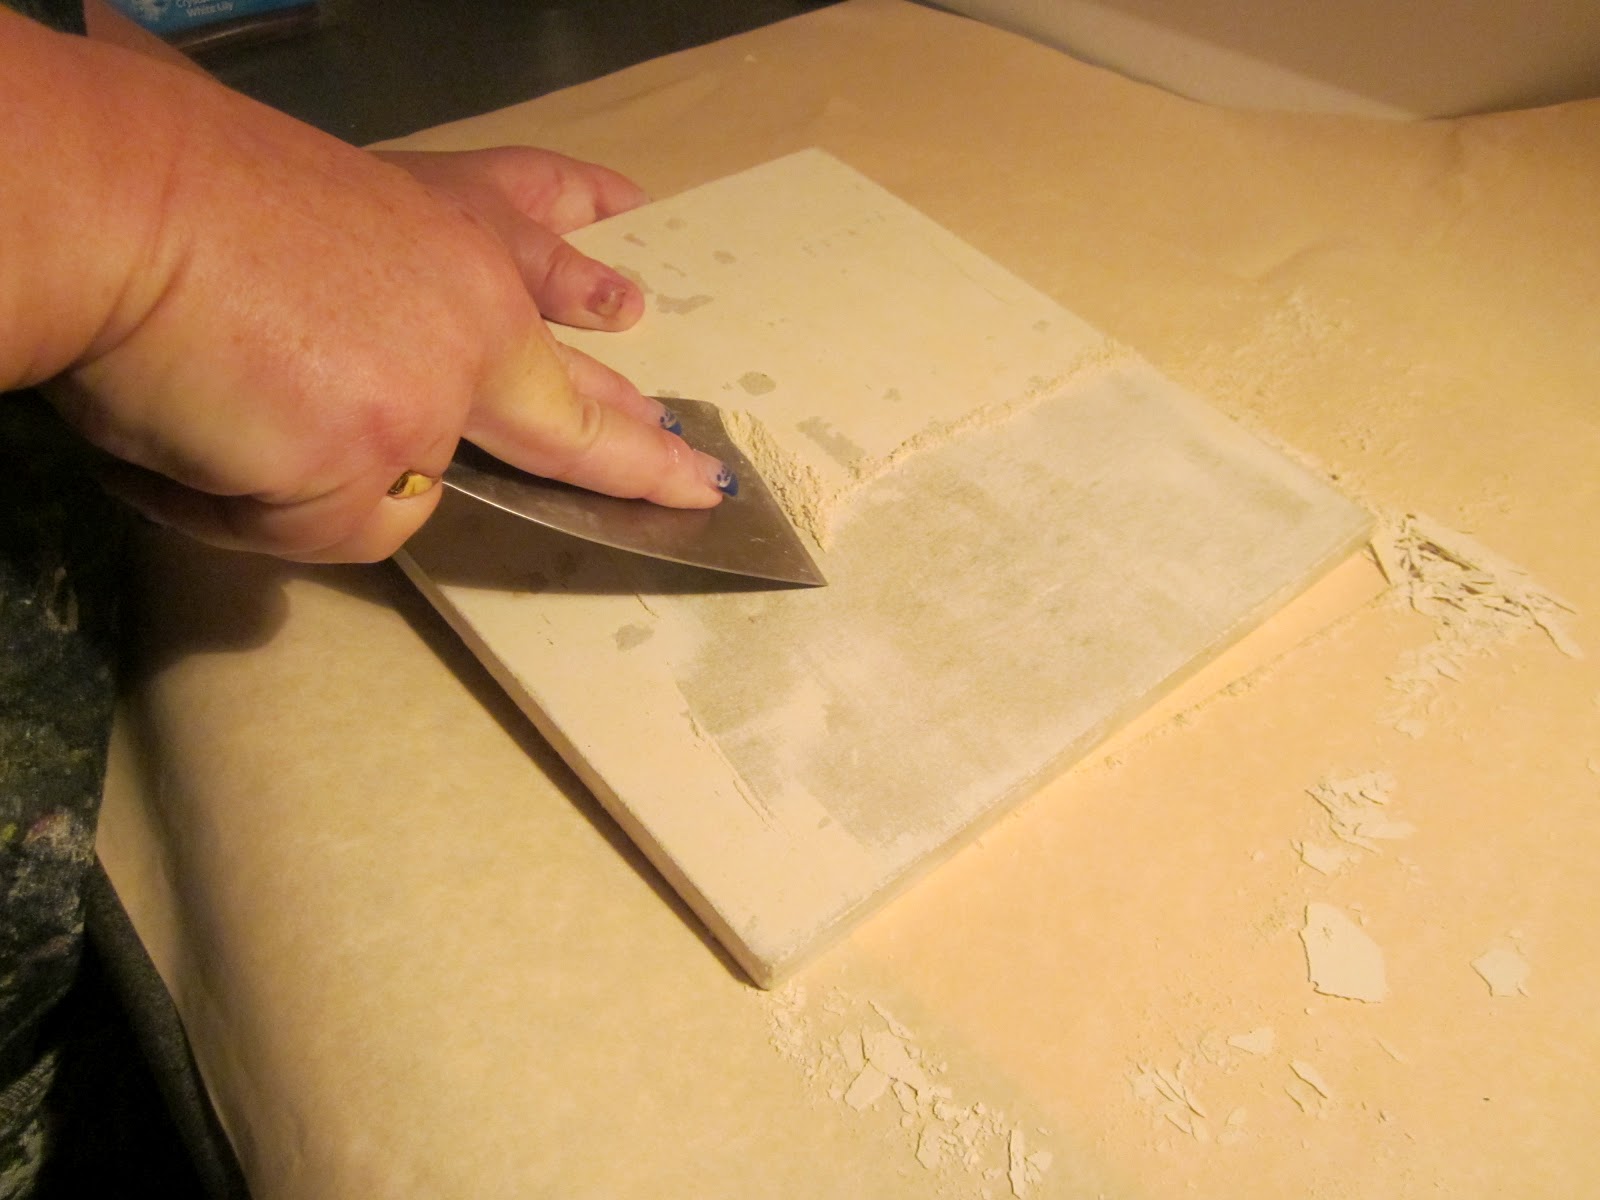
 I am beginning to hate kiln wash.  Here I am scraping it off my kiln shelf before applying fresh but I have decided to use Thinfire Paper in future, it can only be used once but all you have to do is cut it to size, of course it is a more expensive option!


I managed to make some jewellery and a few plates and dishes when I was doing the evening class at Helston but it was a pain having to carry all my supplies with me every time and as it was only a two hour class it seemed by the time I set up it was time to come home.  It was a beginners class and I was hungry to learn more.  Here are some of the things I made during that time. 
 these two look really good but I will let you into a secret - the pattern is already in the glass and all I had to do was cut it and put a layer of clear below and voila!  The patterned glass is called Decofloat and is compatible with float glass
 This one is made from clear float glass with cathedral glass, which is mainly used in stained glass work, the colours are not as good as Bullseye but it is much cheaper
 This is Bullseye, wonderful to work with, always comes out with nicely rounded edges and comes in an amazing range of colours - four times more expensive than float though
 Float again with Cathedral


There were a few things that didn`t come back from the firing as I wanted.

a very expensive Bullseye dish that got dropped and I tried to re-fire but it didn`t work

 If you look closely you can see the blue band of glass at the top should be on the edge more

 These were supposed to be cufflinks like the Cornish Flag!
 you may not see anything wrong with these but some I have cut the top glass too big and some have shifted in transporting to the kiln

 this would have been a fantastic plate in Spectrum 96 glass - Frank wasn`t sure what went wrong 


So it is not so easy firing the glass as I am finding out.  I have been making samples with float glass, which is just window glass and only come in clear.  It is very cheap to buy and you can also pick up some from skips to recycle.  I have been sandwiching all the coloured frits I bought between layers of glass.  Frits are ground and powdered glass and don`t always look the same once fired as they do in the jars, so I need to create a set of samples so that I will know and my students will know exactly what it will turn out like when they use these supplies.  It takes a long time as I have to keep careful records of what I have used so that I can label them.  Apart from different colours, they come in different sizes from 0 to 5.    But I am having a lot of problems with the firing of the float glass!  It is very frustrating as it isn`t designed to be fired like Bullseye or Spectrum which are tested before you buy but are about four times more expensive that float.  Therefore I have to keep a record of firing schedules and alter them and try again if I am not happy with the result and I am not a happy bunny!
For those of you who know I am getting devit.  For those that don`t it is devitrification which is a scummy looking result which is very common with float glass and can be eliminated by getting the firing schedule right with lots of experimentation and I am not the most patient person! It also can happen if you do not clean your glass properly before firing, which is not the reason with mine.
I need to get this right on my samples before I start making stuff to sell or mess up my students work.  Watch this space.

Saturday, 26 May 2012

How to spend a small fortune

I have been reading a few blogs lately just to get an idea of what everyone else does and no matter what subject the blog covers there is a universal theme - apologies!  It is nice to know that we are all the same, life takes over and the weeks fly by and I am no exception, so sorry that I haven`t blogged for weeks.
My life took over a bit as I also run a guest house, so as the sun has come out at last people are emailing and phoning to book a break by the sea.
So anyway back to the glass.  I was telling you how I started at evening class with Frank.  Trouble is that I was like a kid in a sweetshop when I went to buy my supplies at Newquay Glass and I got lots of glass which was not designed to be fired together.  When I came to make the piece some of the glass was Bullseye and some Decofloat and some Spectrum 96. 
This is double dutch to those of you who have never fused glass but basically it is a bit like cooking one type of cake that needs to be cooked at gas mark 2 and another that needs to be cooked on gas mark 6 – you would not cook them in the same oven at the same time.

I also had lots of problems actually cutting the glass and if I couldn`t do that I was in real trouble.
I asked Frank how I should be cutting glass and he said “very carefully!”.  It turned out that I was sitting down when I should be standing up, so therefore the angle of my glass cutter was wrong.  I was also pushing way too hard, you only need to score it not cut right through it!
I do find it quite a challenge as I have arthritis in my hands so I use a pistol grip glass cutter which I find much easier to handle.

But I am glad that I had problems because it will make me a better teacher.  I have also tried lots of different ways of cutting glass to discover what worked for me and hopefully I can help my students to discover the right way for them.


It is like Christmas here but without the wrapping paper!  Lots of bubble wrap and those polystyrene bits in the boxes though.  I have spent a fortune the last few weeks but have had really good service from all my suppliers and now have the basics for my glass studio.  I could spend another few fortunes though before I am finished!  Now just got to find the time to play with all the goodies!
I didn`t buy any glass though!  That sounds a bit stupid but there is a lot of other stuff that I needed first.
Today I unwrapped a lovely slumping mould which I bought from Creative Glass. http://www.creativeglassshop.co.uk/  They were really helpful as it was out of stock when I ordered it, so they sent the rest of my order then a lovely man phoned me when it was back in stock and they sent it out without any extra postage costs.  
Mind you, that was the first of many as Warm Glass had a sale with 30% off moulds, so I bought a few more and here they are all kiln washed ready to go!
 You have to remember to unblock the air holes with a pin after putting the kiln wash on.
nails are courtesy of Claire at Beautopia Nails & Beauty at Hayle, they have a Facebook page.  I am really into dots at the moment and I have several ideas for dotty designs once I get started properly.


Tuesday, 1 May 2012

Bottles, bottles everywhere.......


As well as telling you all what is happening now, I suppose I should tell you how I eventually got started.  As I said before, the first time I saw fused glass was at college, after that I noticed quite a bit of jewellery around at craft fairs.  We have a lovely glass gallery in St. Ives – Jo Downs Glass – http://www.jodownsglass.co.uk which was really inspiring and when I asked in there if they knew anyone teaching fused glass techniques, they put me on to Frank at Helston.  This was an evening glass for beginners and ran once a week for two hours.  We had projects for the first few weeks and then made whatever we wanted.

One of the things I have seen around are items made with bottles that have been flattened in the kiln.  I have been collecting bottles for a while.  Not any old bottles though, I want unusual shapes or coloured glass other than the norm.  
However, my first experiment, indeed the first ever firing in my kiln was with Grolsch beer bottles
and I was delighted with the results
the next experiment with wine bottles was not completely successful!

the problem was that the bottles were rolling together in the kiln, so I thought I would put a little stopper there so it wouldn`t roll.  I had the sense to use proper kiln furniture that is designed to be used in the kiln
but didn`t have the sense to realise that the glass would just flow around it!
This is why we experiment though, isn`t it?  I tend to learn by my mistakes so will not make this one again.  The rest of the wine bottles were fine though

I had a problem with my next load though, as I was preparing to fire some baileys bottles that my daughter Jeni had kindly emptied for me.  I didn`t take photos because I was a bit upset when my kiln lid would not close on them.  As you will notice from the photos at the beginning the kiln is quite shallow and even more so when the lid is closed as the elements protrude from the lid.  Never mind, I can do lots of other things and when I start making a fortune selling all these items I can buy a bigger kiln!